General Help - SAP and U-value modules
1. Installing JPA Designer
 JPA Designer requires a PC running Windows XP or later. The PC will require an regular internet connection to check the validity of your licence, to update the BRE Product Characteristics Database for the SAP modules and to issue EPCs.
JPA Designer can run perfectly on Intel-based Apple Macintosh computers using virtualisation software such as ParallelsDesktop or VMWare Fusion. However, we can not guarantee the program will run, nor do we offer technical support for
the installation on such systems.
 To install JPA Designer on your PC:
- Click or right click on the download button (top right on this page): select Save / Save link as / Save target as
(depending on which browser you use).
- Save the installer file jsetup990.exe to your PC (we recommend downloading the file to the Desktop). The download is about 5.5MB.
 When the download is complete double click on the file jsetup990.exe.
The Install Shield Wizard configures itself and, after a few moments opens.
- You may see a security warning that the publisher of the file could not be identified. If you do, click Run to continue the installation process.
- The next window is our licencing terms and conditions.
After reading the agreement select 'I accept the terms and conditions' button and click Next.
 The installer displays the Program Selection folder. This specifies where you would like to create new shortcuts and if you want JPA Designer to be available to all user accounts on the computer, or just one.
(We recommend you select all.)
Click Next.
- At the Choose Destination Location screen we recommend you accept the default settings and install JPA Designer into the folder c:program > files jpatl >jpa designer 981. Click Next.
 The installer will now copy the JPA Designer files onto your computer.
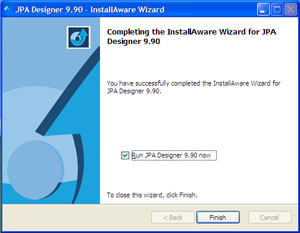
- When installation has finished the Setup Complete screen is displayed.
Tick the box labelled Launch the program and click Finish. The installer will close and JPA Designer will open,
showing you the Project Manager window.

